You may have things cluttered all over the place, and as much as you try putting them back, a few days later, you are back to where you started. Frustrating, isn't? Well, this shouldn't be the case!
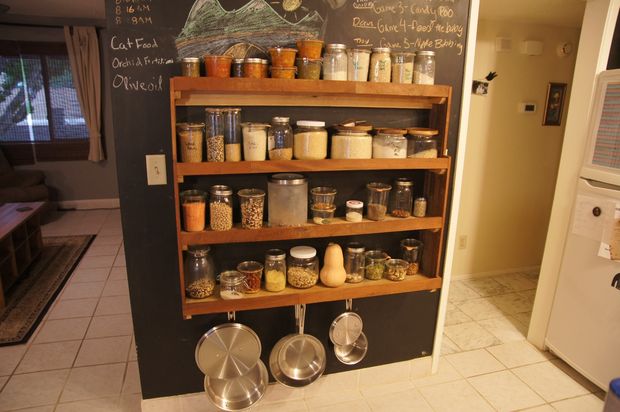
You can make a dry goods shelf out of reclaimed wood for storing your jars of grains, nuts, beans, pastas, and so on. Make sure you know plan exactly where you want to put your shelf, making it visually appealing in your kitchen. This idea comes from Instructables user skitz.
The basics of a dry goods rustic shelf are straightforward. When you get your reclaimed wood, prepare it, take measurements, sand it, assemble the shelf, and then apply an appropriate finish to it.
For a much smoother finish, ensure to paint the shelves with a color that will add warmth and bursts of energy to your kitchen. For added effect, include some hooks below the shelves. The color of the hooks shouldn't be far from that of the screws. The use of those hooks will depend so much on your imagination, but remember a lot of things in the kitchen need to be hung including aprons, cooking pans, towels, cooking utensils and so on. The choice, really, is yours. Leave enough room between the hooks so that your items don't look overcrowded.
Make sure to check the link below for the complete tutorial.
Ps. Don’t you just love that chalkboard wall?
Read MorePhoto by: skitz | Instructables


