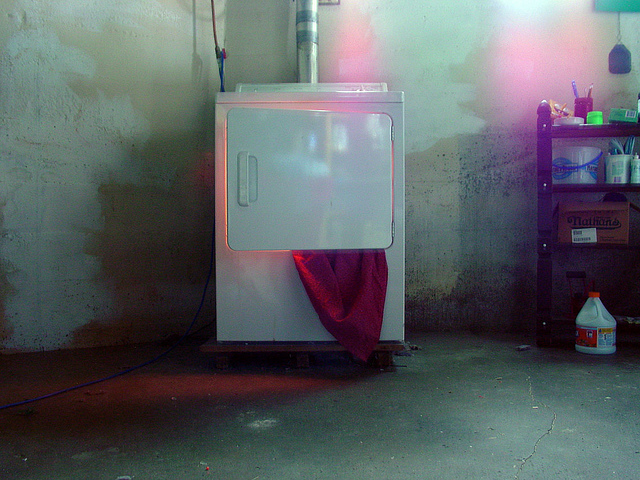
One of the easiest ways to ensure that your dryer is in good condition is to clean out the lint trap, around the dryer, the interior cabinet, and your vent ducting. After a while, lint will build up and prevent the dryer from working efficiently, thus using more energy since it is forced to work harder…let alone increasing the risk of a fire.
First, you need to remove the lint screen from the lint trap. Fully lift the screen out of the dryer to clear the lint from the screen. Once you have scraped a small amount from the screen, use it to clean the remaining lint.
Using a vacuum cleaner and a soft brush, clean the screen. Run the vacuum attachment over the screen to remove the remaining lint from the screen. Once the lint trap has been cleaned, you can return the lint screen back into place.
While you should always remove lint in between cycles, it’s also wise to regularly vacuum behind and around your dryer to remove any debris or lint.
Out of all advice, removing debris in your dryer cabinet—around the motor and heating element or gas burner is the most crucial practice you can partake in. Then, cleaning lint buildup from the vent duct is also of importance. Make sure your vent ducting is metal—plastic is a hazard and can cause fires.
Depending on the type of dryer you have, consult your owner’s manual to gain access to the interior of the cabinet of your dryer. Remember to always unplug your unit, and if you have a gas dryer, make sure to turn off the gas valve before gaining access. It’s as simple as vacuuming the lint debris around the motor and element or burner that should be maintained on a regular basis depending on use.
Then, disconnect your duct and use a vent brush to remove the debris through the external opening; depending on your setup, you may need to take apart your duct to remove any other buildup.
Photo by: Jeremiah | Flickr


