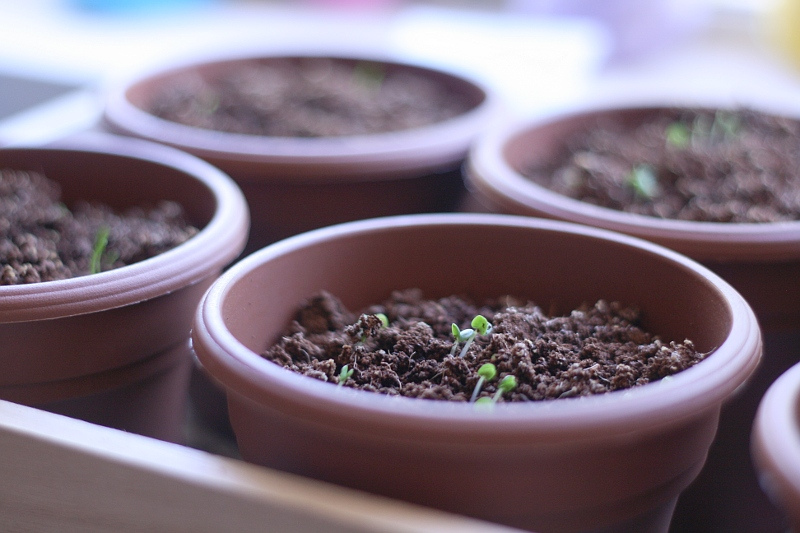
If you’re looking to reuse your potting soil or plan on digging some up from your garden to use for your potted friends, you probably should pasteurize it. You need to kill any harmful organisms and diseases to make sure your plants have a healthy start. Plus, sterilizing your used soil can potentially kill weed seeds too. Who said you couldn’t have a green thumb? Give your little seedlings a fighting chance! While you can always purchase soil from your local greenhouse or home improvement store, sterilizing your soil is super easy—and you can do it right in the microwave. The new addition to your front porch says “thank you” already.
Melissa Lewis from Home Guides by Demand Media explains how to nuke soil in your microwave to start your plants off right. Basically you fill up 2 pounds worth of damp soil in a microwave-safe dish or paper bag (make sure to leave the bag open). While the cooking times vary depending on your microwave’s power setting, the general rule of thumb is to get to a temperature of 180°- 200° F. Begin with 1 1/2 minutes, and keep nuking the soil in these increments until you hit the temp by sticking a thermometer right in the center. Usually a total of 8 1/2 to 9 minutes total will do the job just fine. Once you’re there temperature wise, loosely cover your container while allowing ventilation so the sterilization process can continue. After your soil is completely cool, go ahead and use or store it away for future use.
I imagine the smell of cooking soil will be anything but pleasant. Feel free to open up a window or two, and turn on the vents. A small price to pay, but hey, it could be worse.
Read MorePhoto by: Megan | Flickr


